
Professional Growth
How to Network With LinkedIn ‘Coffee Chats’ in 2026


Trends & Insights
The Brand Move Apple, Duolingo, and Lego Refuse to Make


QUOTE OF THE DAY
Read the Full Article →“There is no better way to show commitment to the community than being present in the room.”
FREE APP OF THE DAY
Spot the Differences Mental Reset
A quick brain game to reset your focus and sharpen your attention between work sessions.
Open AppCurrent Issues
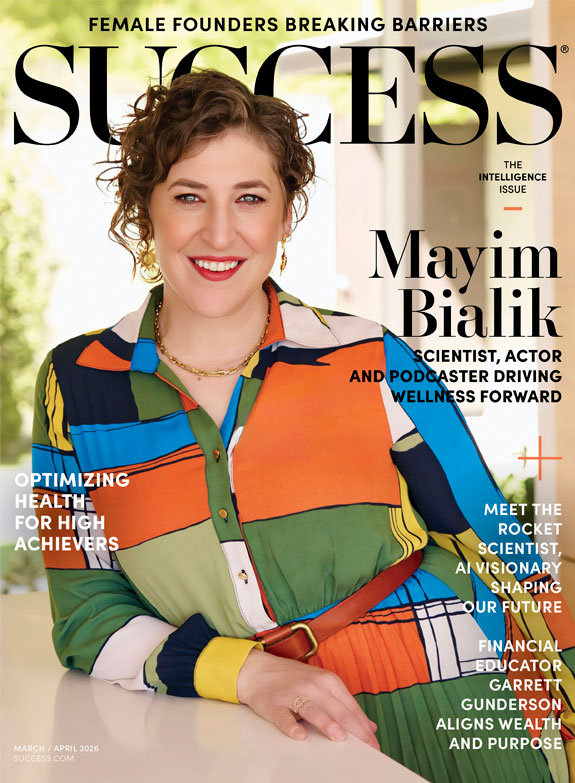
MARCH / APRIL 2026
THE INTELLIGENCE ISSUE
Featuring: Mayim Bialik
SCIENTIST, ACTOR AND PODCASTER DRIVING WELLNESS FORWARD
Buy the Latest Issue
JANUARY 2026
THE GUIDE TO REINVENTION
Featuring: Amy Porterfield
THE MULTIMILLION-DOLLAR PIVOT
Read Free on SUCCESS Labs™Never Miss an Issue
Subscribe NowCategories
Explore What Drives Success
From AI-powered strategies to wealth-building fundamentals, leadership insights to entrepreneurial fire — dive into the topics that matter most to your growth.
AI & Technology
View All →
AI & Technology
How AI Influencers Generate Millions Per Year


AI & Technology
How to Use ChatGPT (Free Version Features vs. Paid)


Business & Branding
View All →
Business & Branding
The Power of Patience: Gap Inc.’s Second Mover Advantage

Business & Branding
What is Innovation in Business? Types, Tips and Ideas

Business & Branding
5 Strategies Customer Service Teams Use to Build Lifelong Loyalty
Longevity & Performance
View All →
Longevity & Performance
The Dopamine Trap—the Rarely Discussed Source of Burnout Developers Face in an AI Age

Longevity & Performance
Why a Sleep Retreat Could Be the Most Strategic Move a Leader Can Make

Longevity & Performance
Top Fitness Tips for Busy Professionals
Professional Growth
View All →Professional Growth
How to Network With LinkedIn ‘Coffee Chats’ in 2026

Professional Growth
A Blueprint for Success: Dean and Lisa Graziosi’s Winning Formula

Professional Growth
Why Is Creativity Important in the Age of AI? Insights From Researchers
The SUCCESS Store
Invest in Your Next Level

Jim Rohn Book Bundle
The complete Jim Rohn collection — timeless wisdom on success, wealth, and personal development.
$97.00$181.69
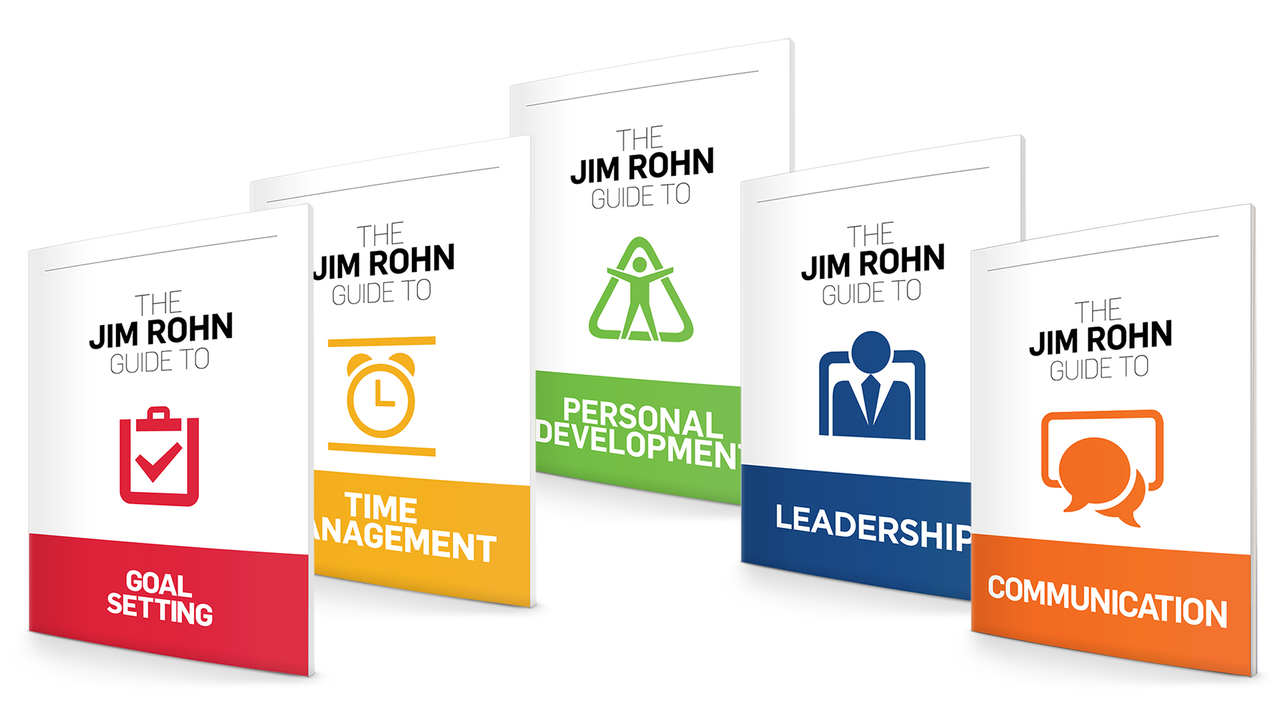
The Jim Rohn Guides Complete Set
The full collection of Jim Rohn's practical guides on goal setting, communication, and leadership.
$18.71
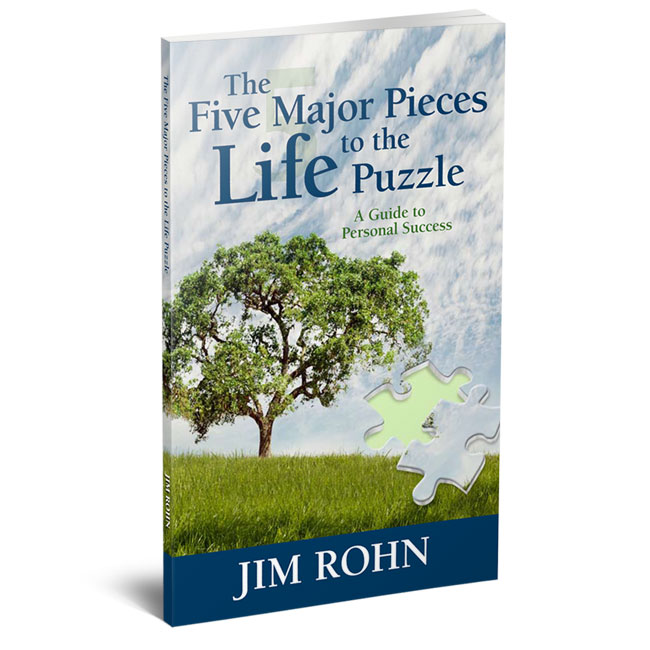
The Five Major Pieces to the Life Puzzle
Jim Rohn breaks down the five key areas that determine your quality of life.
$24.99


Culture & Workplace
View All →
Culture & Workplace
A Remote Team Became 40% More Engaged With This Meeting Tool

Culture & Workplace
How to Unplug From Technology at Work—A Guide for Brands & Leaders

Culture & Workplace
Gen Z Doesn’t Want Feedback—They Want Coaching
Entrepreneurship
View All →
Entrepreneurship
Women Who Build, Women Who Bond

Entrepreneurship
How to Become a Life Coach in 2026—The Path to Certification

Trends & Insights
View All →Trends & Insights
The Brand Move Apple, Duolingo, and Lego Refuse to Make

Trends & Insights
What ‘Quiet Cutting’ Means and Why It’s Happening at Work

Trends & Insights
How to Fact-Check Chatbot Answers Without Slowing Down Your Workflow

World-class keynote speakers for your next event, summit, or conference.

Nick Santonastasso
Keynote

Glenn Sanford
Business

Courtland Warren
Corporate Culture
Stay Connected
Get weekly insights on leadership, growth, and the future of work delivered to your inbox.
Subscribe to the Newsletter